Back to Homepage
"Just Mount it Over the Fireplace!"
4/5/2022
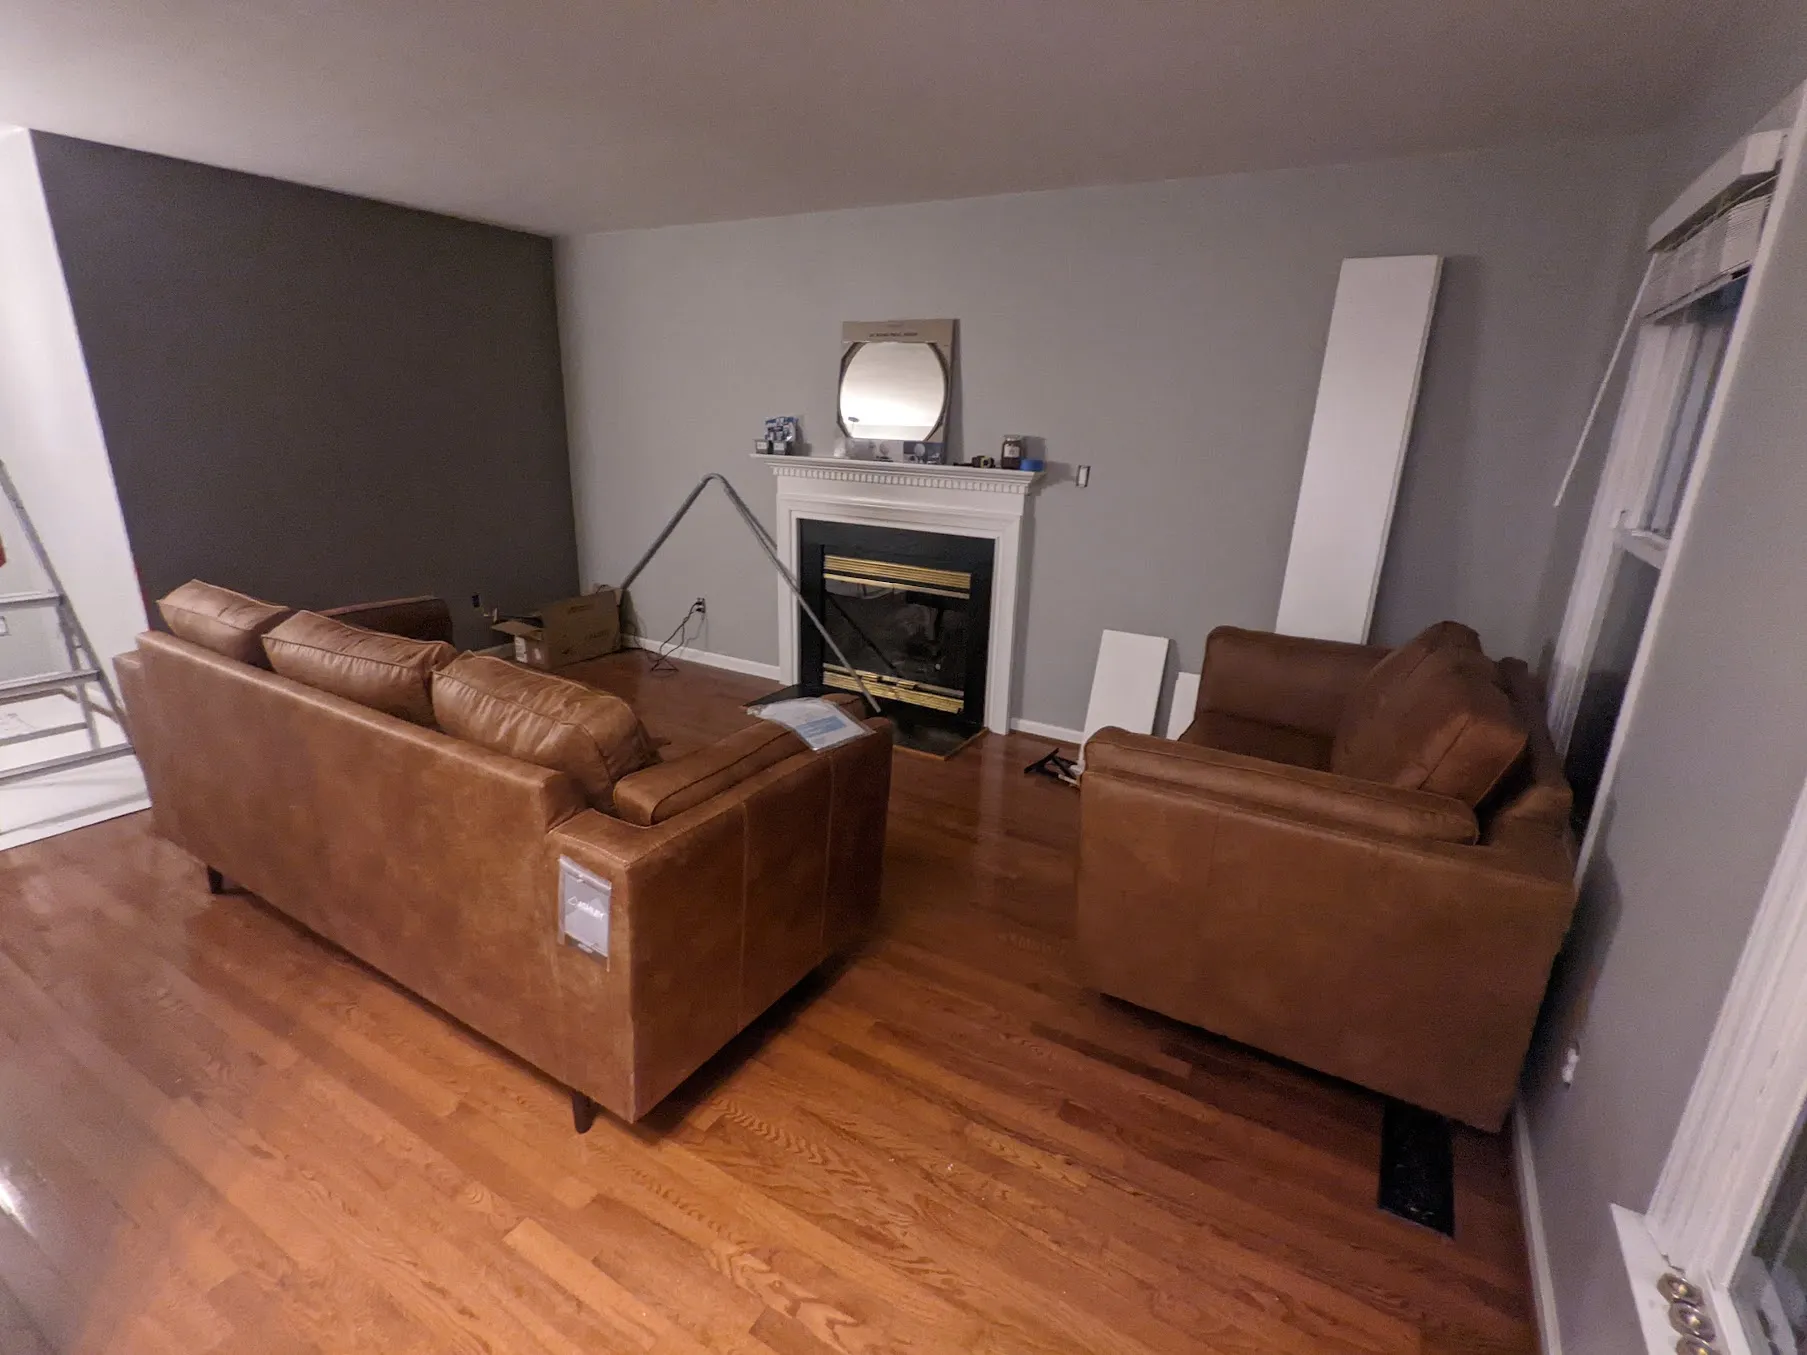
My living room is weird. It's short and wide, and there are doors and walkways all across the back of it. There's no obvious place to put a TV. The previous residents mounted a projector screen to one of the "side" walls to get around this, but their couch ended up about 20 feet away from that screen. In my opinion, mounting a television over a mantel is a bad idea, since it always ends up way too high. Additionally, If a house was built before 2010, you're going to need to find a way to hide cables. Unfortunately, I didn't really have a choice.
If I was going to do this, I decided to do it the right way.
- No visible cables.
- No permanent cables. If HDMI2.1 is superseded, I don't want to open the wall again.
- Cables should come out somewhere else in the room, where a media cabinet can hide them.
- An electrical outlet should be available behind the TV.
To meet these goals, I needed to rip open the walls, cut notches into the studs, and embed pvc cable conduit in them. With a 1" conduit, I can fish up to 4 cables, and replace any of them at any time.
Notching studs is totally allowed in code, but it feels wrong. I wanted to leave as many studs whole as I possibly could, so I decided to run the cables only a few feet to the left of the fireplace, and down to the standard outlet height. There was already a power outlet there, which I could piggyback off of.
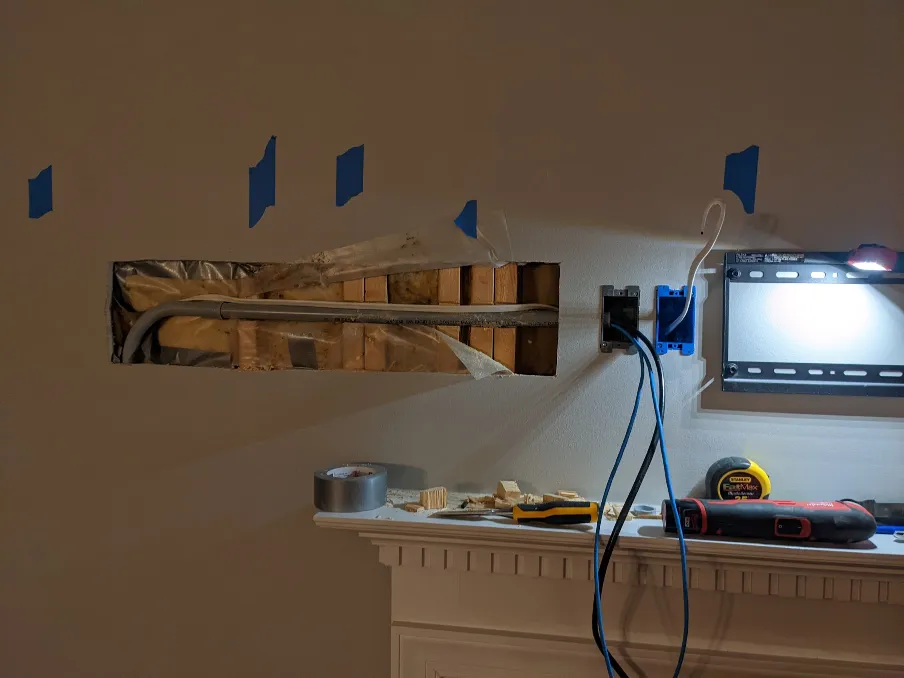
I measured the location for the TV mount, and then marked the location of my "TV-Side" outlets. Then I cut a rectangle into my drywall along the entire width of my conduit run.
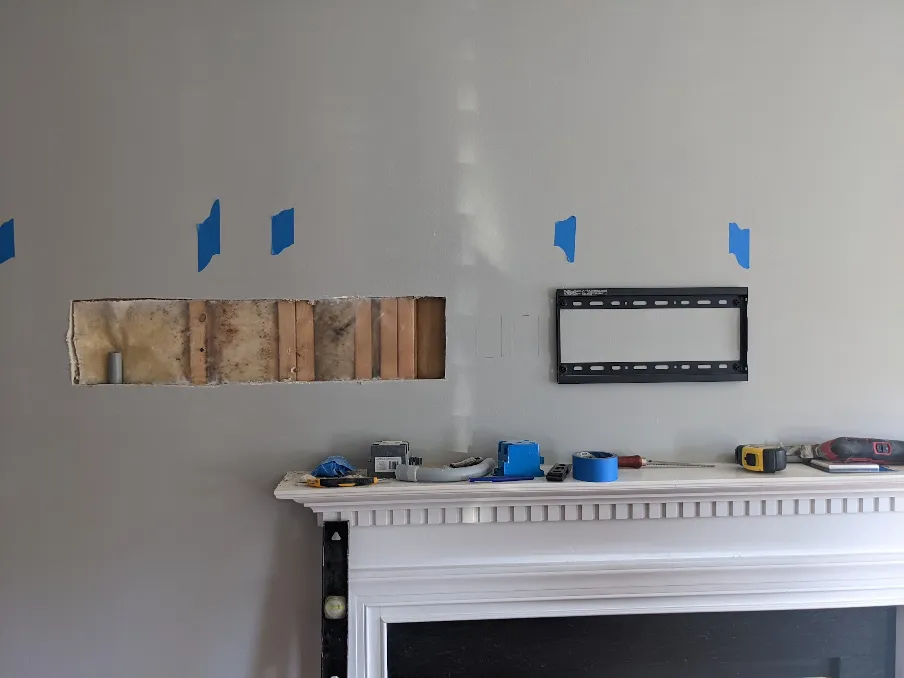
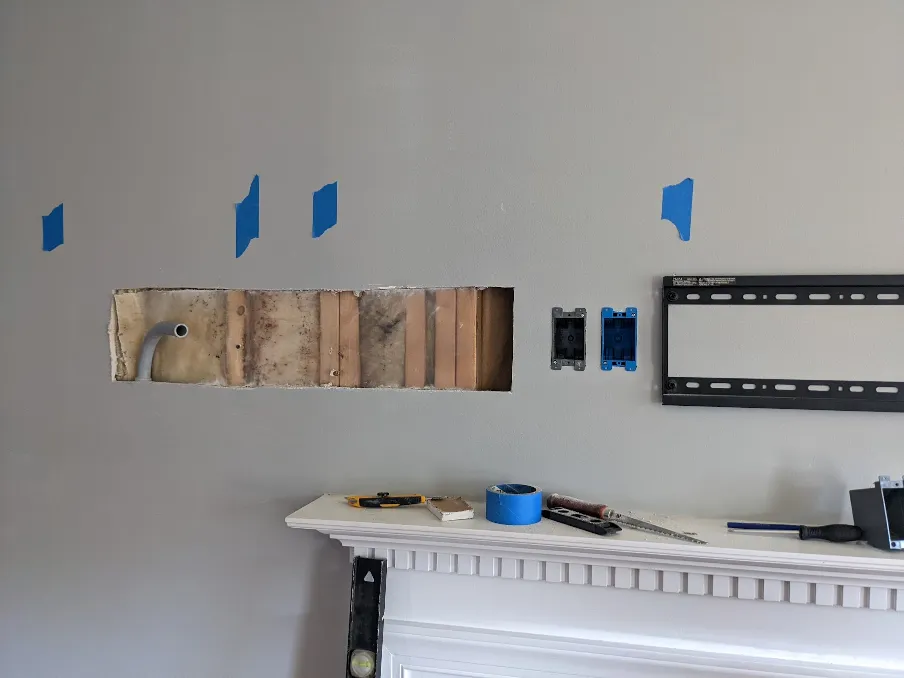
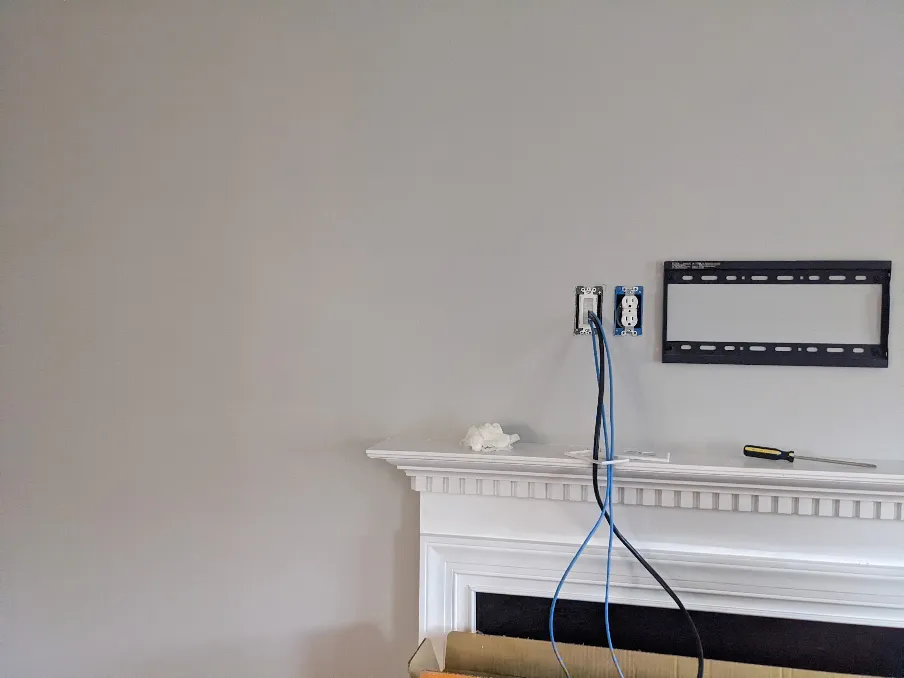
I was able to add a low voltage and 120v old-work electrical boxes on the TV side, as well as a new low voltage box next to the existing outlet on the "Input" side. Then, the vertical part of the conduit was slid into the wall and sealed to the "input" box. I added a wide arcing right angle, and now I only needed to add the horizontal component. I used a chisel and a multitool to cut perfectly sized notches out of each stud, and pushed the final piece of conduit into place. Since this wall had a vapor barrier on it, I repaired the barrier before continuing.
With the conduit in place, I ran a few ethernet cables and an HDMI cable as a test. Everything ran smoothly! I also routed the electrical cable alongside the conduit for its own horizontal run. It hasn't added any noticeable interference with the data lines.
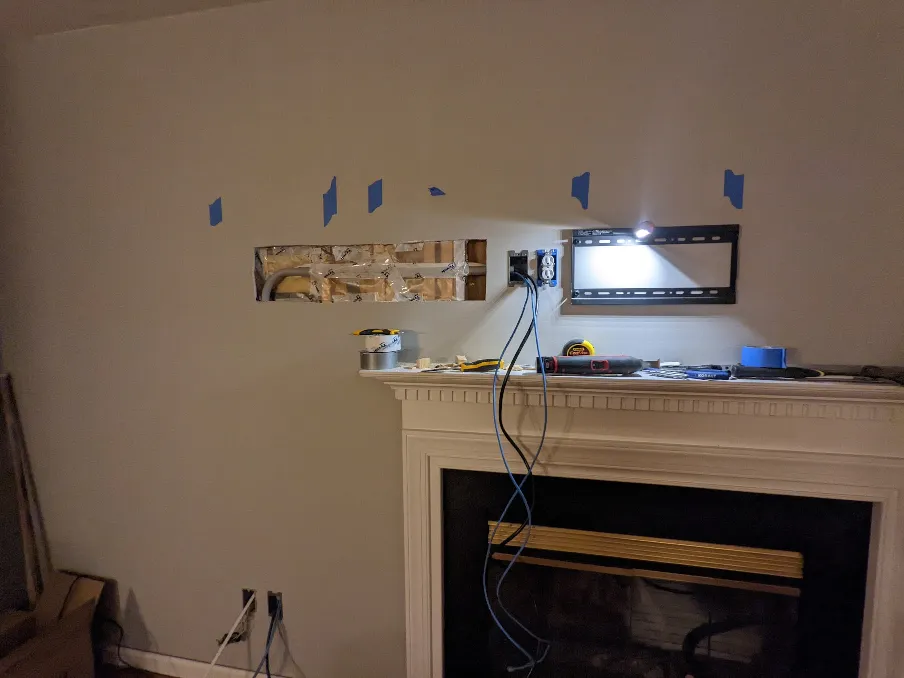
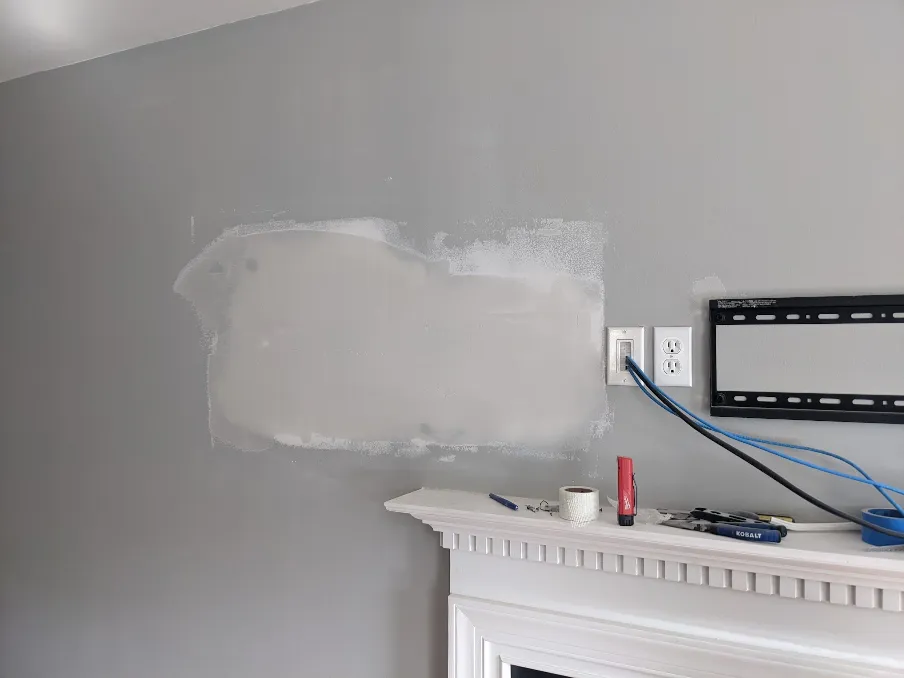
I added some metal straps over the conduit to hold things in place and reinforce the notches. Then, I scribed the outline of the hole onto some scrap drywall, and cut out a patch. It was getting late, so I patched everything with some drywall mud.
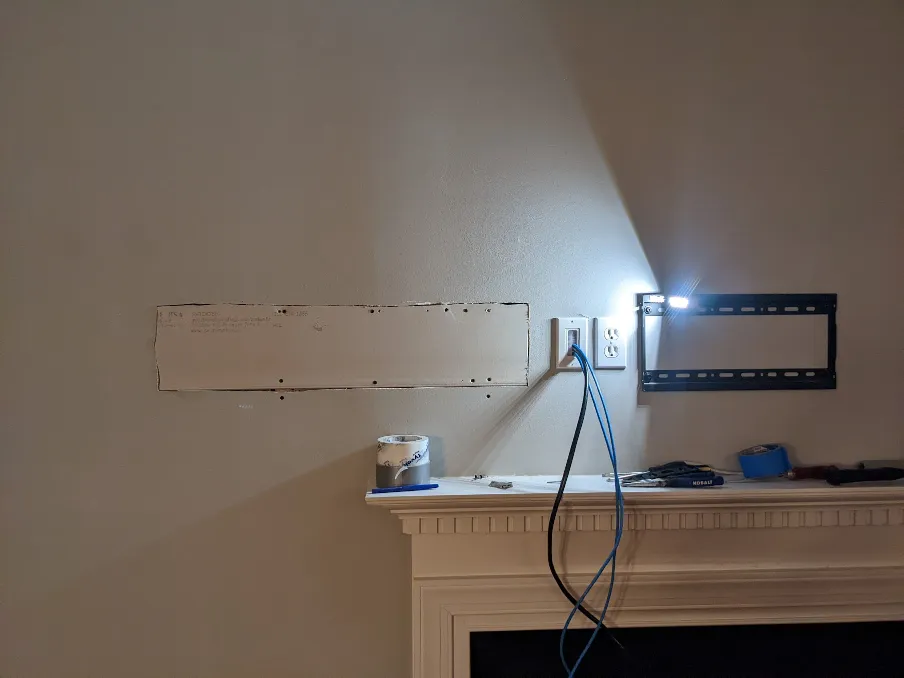
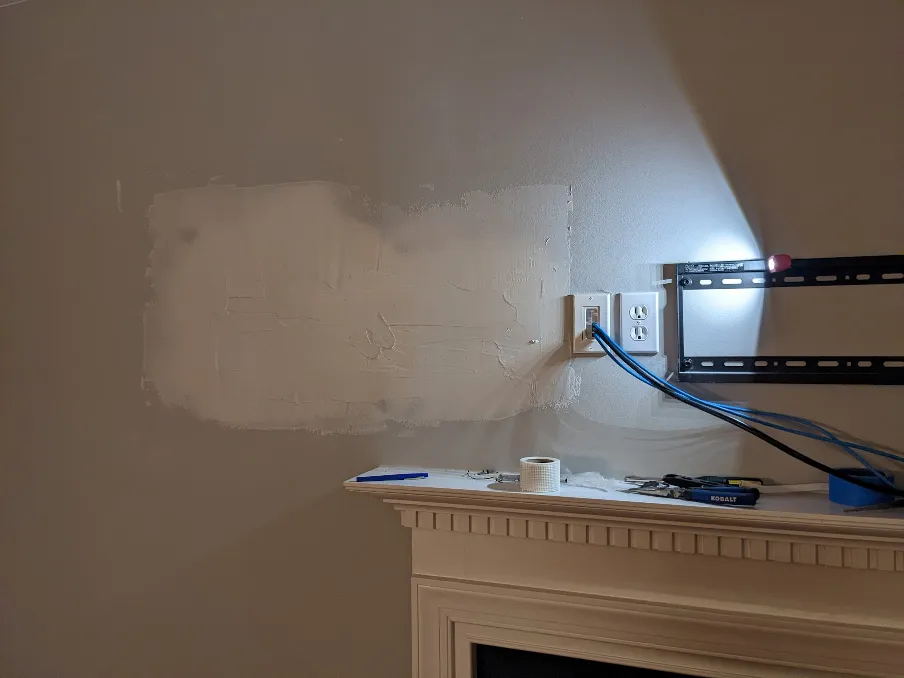
The next day, I sanded everything and added a second layer of mud. When that dried, I sanded again and added two layers of paint. The whole thing is invisible.
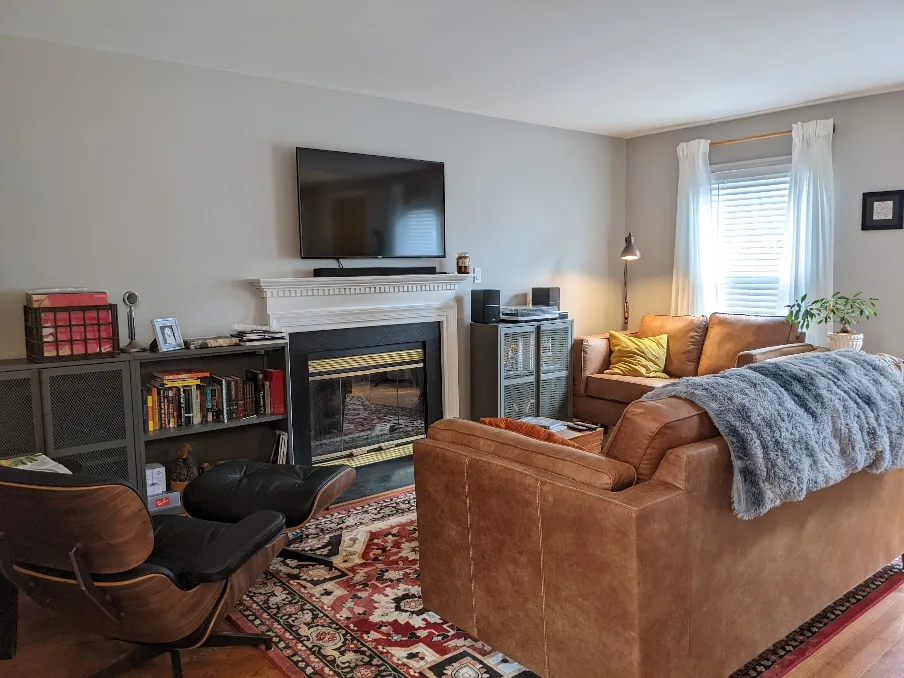
Now I could hang the tv to validate everything. It all works, and I achieved the "Floating TV" effect I was looking for.
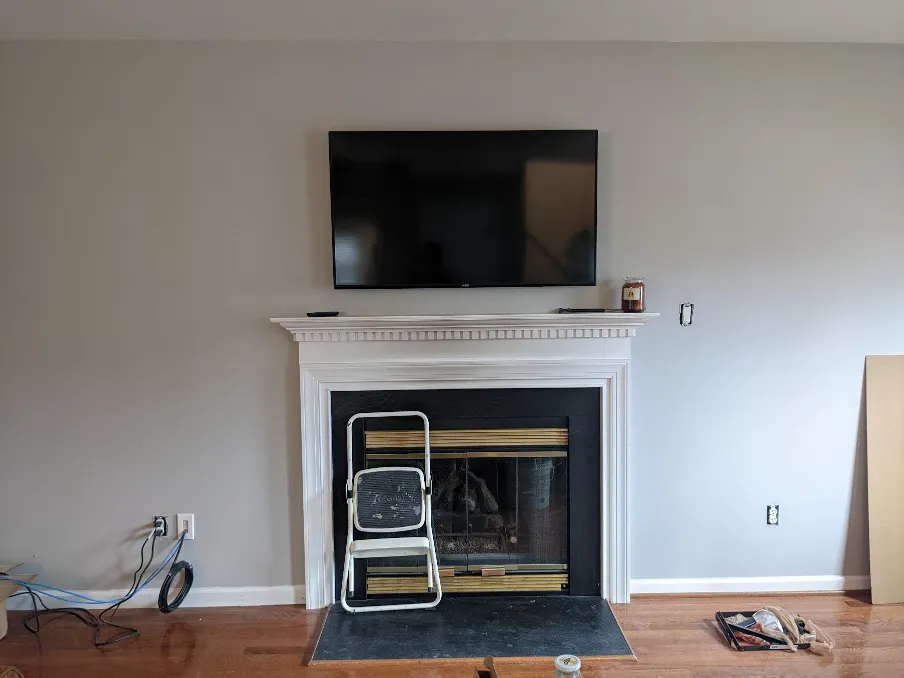
Finally, I just needed to add the rest of the furniture. Overall, I have been very happy with this result. My media PC lives in the gray cabinet on the left, along with a few game consoles. In the future, I'd like to upgrade the TV mount. Ideally, I'd like to hang the sound bar under the TV, and get a hydraulic mount that can bring the TV down in front of the mantel.